Making Maple Syrup
Well, I (we) finally did it! We successfully made maple syrup using sap from our backyard maple tree.
To be honest, all-in-all, it was a fairly simple, easy, and straight forward process. It was literally as easy as:
Collect sap.
Cook sap.
Bottle sap.
However, what people don’t tell you when they say, “Oh, making maple syrup is easy!” is the sheer amount of time and sap needed to make one bottle of maple syrup!
Seriously, I started with a full 2-gallon bucket of maple sap and ended up with 1/3 of a pint of maple syrup.

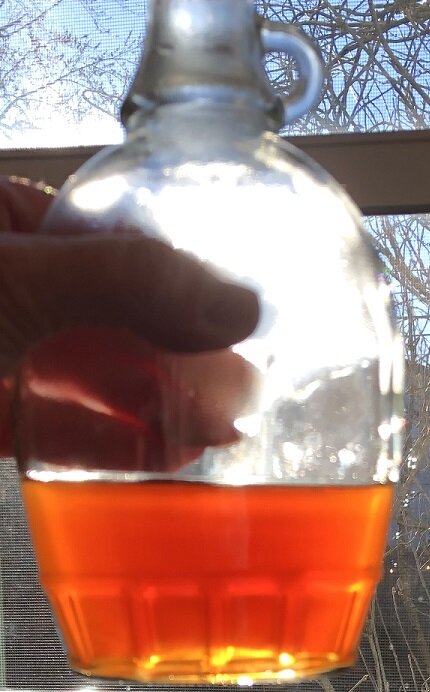
It took us four hours to cook down that 2-gallons of sap into what you see above (~ 1/3 pint).
I recorded a lot of what I (we) did throughout the time consuming process and cobbled it all together in a video (which I’ll post tonight or tomorrow). There is one thing that was not recorded and that was where the roasting pan I attempted to use (plan B) fell out of, or off of, the grilling grate thereby spilling about 1/3 of a gallon of precious maple sap! This resulted in Plan C, the cast iron pot.
So what did we learn during this process?
Collect more sap. This means using more than one pot to cook it down to speed up the process.
Verify that the pot you’re going to use fits the device being utilized. I started with Plan A - turkey frying pot (too big). Then I went to Plan B - aluminum turkey roasting pan (too unstable). I eventually landed on Plan C - cast iron pot (just right))
Have a second pot (or third pot if using two pots to cook down the sap) identified and ready for finishing.
The more sap you collect the longer the process takes. This means more time, more firewood, and possibly more pots. So start early in the morning not at 1:30 in the afternoon.
All things being equal, it was a fun and rewarding experience and I’m glad we did it.
Look for that video announcement soon!